Are you a travel enthusiast looking for a creative way to showcase your adventures? Look no further! In this post, we will show you how to make an animated travel map. Whether you want to document your past trips or plan your next adventure, creating an animated travel map is an excellent way to bring your travel stories to life. So, grab your travel journal and let’s get started!
6 Steps to Create an Animated Travel Map
Choose the Right Software
The first thing you need to do is search for suitable software. There are numerous options available on the Internet, ranging from user-friendly apps to professional-grade animated map makers. A great choice is animation maker, which allows you to easily create engaging and professional-looking animated travel maps even if you’re a beginner. Take your time to choose the one that suits your needs and skill level. Make sure your device or computer is compatible with the technical requirements of the selected program so that it runs smoothly, allowing you to work on your projects without a hitch.
Gather Your Travel Data
The heart of any animated travel map is the data you gather from your travels. Start by collecting information such as the places you’ve visited, the dates of your trips, and any memorable experiences you want to highlight. This data will serve as the foundation for your animated map, so be sure to gather as much detail as possible.
Insert a Picture of a Map
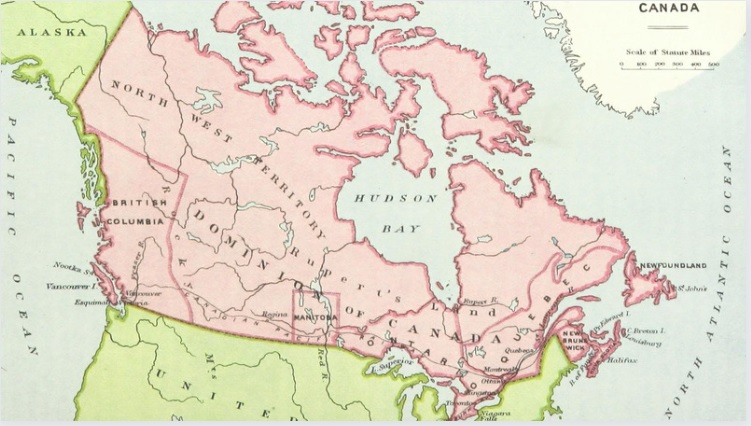
Before creating the map animation, you need to add an image of the map where you’d like to draw your route.

When choosing the picture, consider the illustrated countries, the map design, and the desired map scale. Animated map making programs normally have a library of such backgrounds, but you can also look for suitable stock photos.
Plot Your Travel Locations
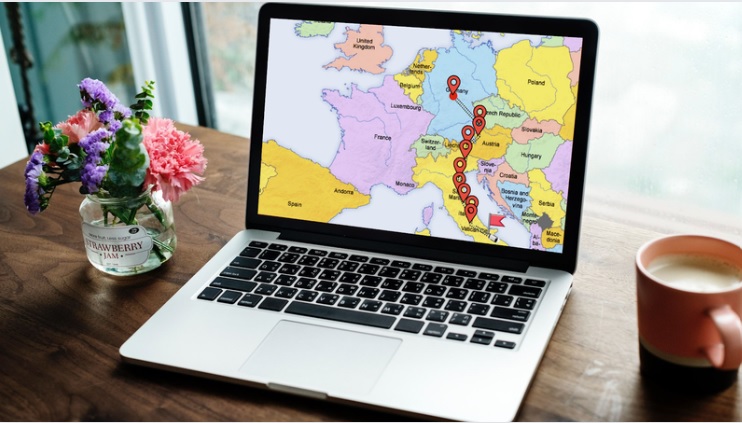
Once you have your travel data and a map image, it’s time to plot your locations on the map. You need to accurately mark the places you’ve visited and add animated drawing lines to connect your travel destinations. You can customize the appearance of each location with icons, images, or personalized markers to make your map visually appealing.
Add the Final Touch
When the animated route is ready, you can make some other adjustments to take your video to a new level. For example, you can add an uplifting soundtrack, captions, and notes about your trip. You can also add more video clips to narrate the story, share some tips, or simply showcase more photos and videos from your journey. Your creativity is the only limitation.
Share and Enjoy
Now that your animated travel map is complete, it’s time to share it with the world. You can upload it to your blog, social media platforms, or even create a dedicated website to showcase your travel adventures. Don’t hesitate to send your animated map to your friends, family, and fellow travel enthusiasts to inspire and ignite their wanderlust.

But no matter which platform you choose, make sure you prepare your video for it – choose the right resolution, file size, and file format.
Summary
As you can see, creating an animated travel map is a fantastic way to relish your travel memories and inspire others to explore the world. In this post, we’ve discussed the main stages of the creation process. For more details and tips, read this article about how to create animated travel maps. Along with a step-by-step guide, you’ll discover a couple of handy animated map makers that you can use for this job. Now it’s time to craft your own video. Remember, the key to creating an engaging animated travel map is to let your creativity flow and make it a reflection of your unique travel experiences and adventures. Enjoy the process and have fun showcasing your trips.


